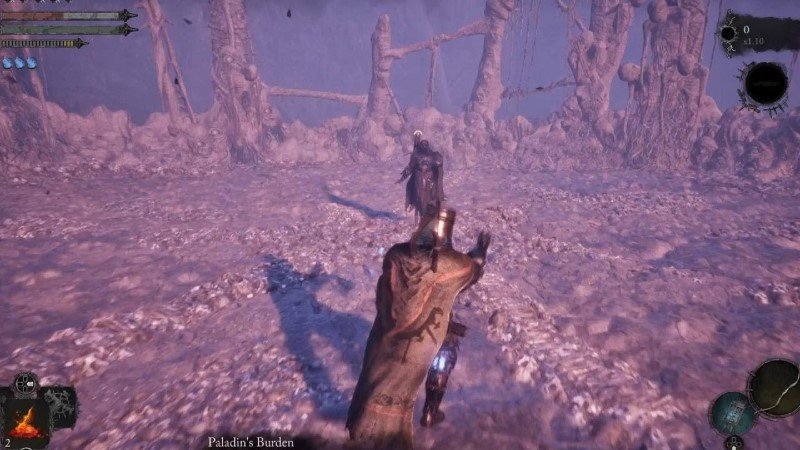
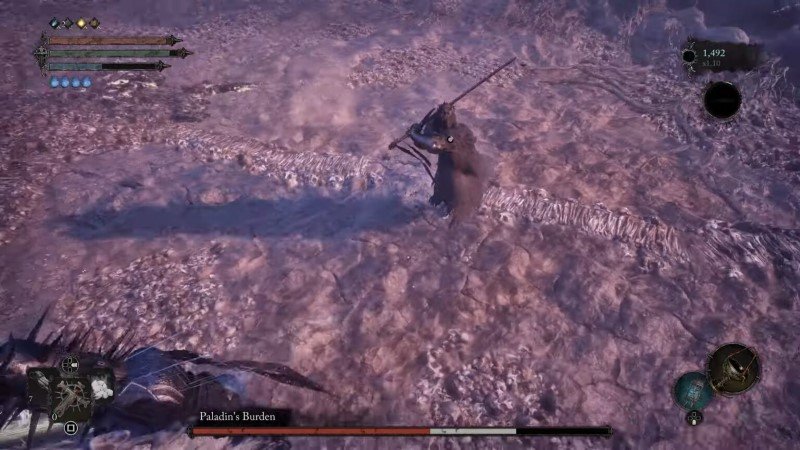
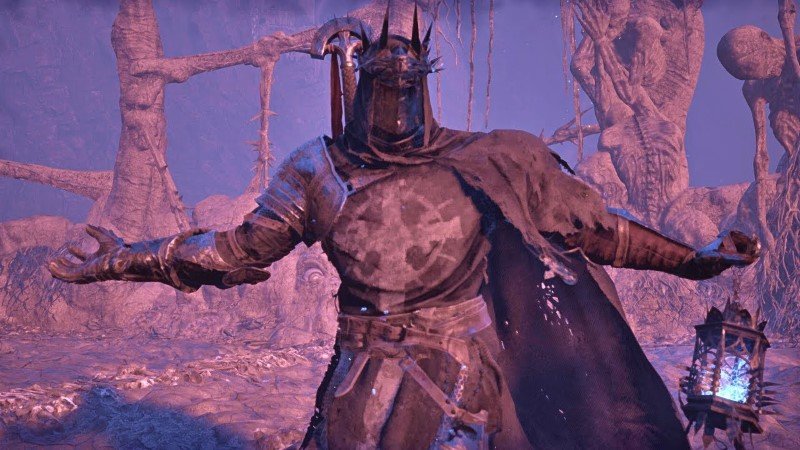
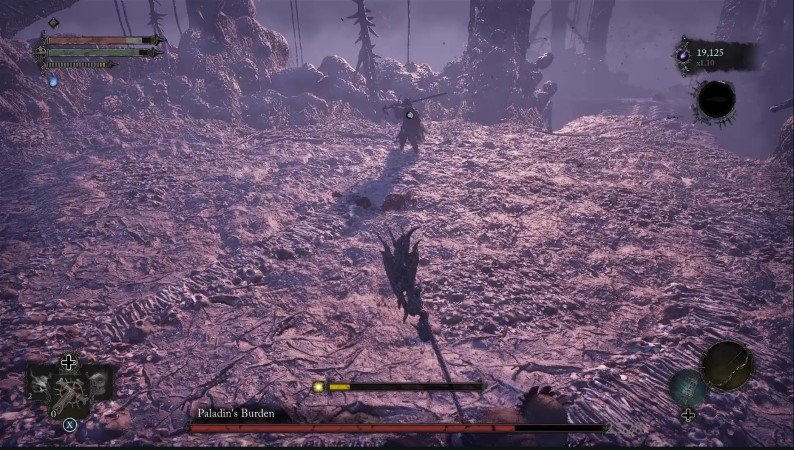
Find out how to beat Paladin’s Burden, a tough optional boss in Lords of the Fallen! This blog will guide you on locating the boss in the Path of Devotion, starting from Belled Rise. Learn about the boss’s moves and get useful tips to beat it. Get ready for the challenging battle with Paladin’s Burden in the thrilling world of Lords of the Fallen.
How to Get to Path of Devotion?
To get to Belled Rise and face Paladin’s Burden in Lords of the Fallen, you need the Pilgrim’s Perch Key. You can buy it from Stormund at Skyrest Bridge for 9,000 Vigor. If you want to save Vigor, you can wait for Stormund to leave Skyrest Bridge after completing the Upper Calrath part of the main story.

Grab the key he drops when he leaves, and you can unlock the path to Belled Rise without spending your hard-earned Vigor. This smart strategy helps you conserve resources while still tackling the challenging encounter with Paladin’s Burden Lords of the Fallen.
How to Find Paladin’s Burden?
As you step into Belled Rise through the main door, keep going until you reach a scary spot. Look to your left; you’ll see a cage extending outside and a statue in front of you. Keep moving through this unique area, paying attention to everything around you. The cage and statue are important signs that will help you navigate the complex landscape of Belled Rise. Stay alert as you move forward, as these visual hints will bring you closer to the exciting showdown with Paladin’s Burden in the thrilling world of Lords of the Fallen.

Climb the path until you get to a room with three hounds and a tough Bulwark. Leave the room by turning right, and you’ll start on the Path of Devotion. Go right and take a sharp left turn when you reach the hill. This turn is crucial because it leads you further into the Path of Devotion, getting you ready for the upcoming meeting with Paladin’s Burden. Keep an eye on the surroundings and enemies as you follow this tricky route, preparing for the challenges ahead in the exciting Lords of the Fallen journey.
Keep going on the path, going downhill until you reach another hill guarded by a Sin-Piercer with her hounds. At this point, switch to Umbral and turn left. This smart move is important for navigating the tricky landscape of Lords of the Fallen. Thus, it will make it easier to face the challenges posed by the Sin-Piercer and her watchful hounds. Stay alert, adjust your strategy, and prepare for the changing situations. Because as you move forward on the designated path, gearing up for the encounter with Lords of the Fallen Paladin’s Burden.
Final Direction
Following this path, you’ll encounter an optional boss battle. To get ready for it, use Soulflay on the body to create a bridge. Go to the middle and use Soulflay on the Stigma. There you will get 2x Umbral Scouring and starting the boss battle with Paladin’s Burden. This strategy is crucial for maximizing your resources and preparing for a tough fight with a challenging boss. Ensure you understand these steps well. Following these will help you approach the upcoming battle in Lords of the Fallen with good preparation and tactical advantage.
Paladin’s Burden Boss Guide
Facing the optional boss Paladin’s Burden in Lords of the Fallen? Here’s the scoop: The key to taking this boss down is attacking it when it’s in Umbral form. Watch out for a mix of Wither and Radiance damage but know it’s especially vulnerable to Fire-based attacks.

To up your chances of winning, use a combination of both long-range and close-quarters tactics. Switch between attack modes wisely to exploit the boss’s weaknesses and gain a strategic edge. This dynamic approach will help you make the most of your time in the intense battle against Paladin’s Burden and increase your chances of coming out on top.
At the onset of the battle, Paladin’s Burden Lords of the Fallen engages in dialogue while preparing for combat, providing a brief window for quick strikes. Capitalize on this moment, landing a few hits, but exercise caution as he wields a lamp capable of Soulflaying. Opt for a hit-and-retreat strategy, maintaining a safe distance. Expect a mix of heavy sword strikes; however, be wary of deceptive attack timings.
Watch out for Surprises
He might seem slow, but his pauses can surprise you, making it hard to decide whether to run, defend, or dodge. Even though he’s sometimes slow, he’s quick at avoiding long-distance attacks and swiftly dodging close ones. Be ready for these details to effectively deal with Paladin’s Burden in Lords of the Fallen.

Pay close attention to his unique moves in the battle. When he stretches out his arms and unleashes a damaging Wither wave, use the opportunity to quickly recover health by attacking. Also, take advantage of these moments to launch ranged attacks while he has his arms extended. Watch for two lamp-based moves: the Radiance spell and the cloud formation. When the cloud appears, bolts of Radiance will follow, so move quickly to avoid them. Walk to dodge, and if needed, use dodges to avoid getting hit by the projectiles. Mastering these specific responses will improve your chances of effectively countering Paladin’s various attacks in the challenging Lords of the Fallen encounter.
In the final part of the battle with Lords of the Fallen Paladin’s Burden, watch out when he uses his lamp to heal and make the fight last longer. When he brings the lamp close and raises his arm, be ready for an attack. Quickly stop him by hitting him right away so he can’t heal. If you successfully stop his healing, he’ll do a second attack, reducing the chance of him regaining health. Pay close attention during these important moments to stop the boss from recovering health in the tough fight in Lords of the Fallen.
Rewards for Beating Paladin’s Burden
Beating Paladin’s Burden in Lords of the Fallen gets you cool stuff! After winning, you get 1 Umbral-Tinged Flayed Skin, 8 Umbral Scouring, and 2 Unripe Berries. These prizes show you’re awesome at the game. Use these items wisely to improve your weapons and continue through the exciting challenges in the world of Lords of the Fallen.
More on the Lords of the Fallen guide: Boss Guide – Kinrangr Guardian Folard

0 Comments